vpn-privacy
VPN Leak Tests and Prevention 2026: DNS, WebRTC, IPv6 Leak Defense
Step-by-step VPN leak detection and prevention. The five leak types that bypass your VPN, the tests that reveal them, and the configurations that fix each.
- Use source-backed steps before changing security settings.
- Prioritize MFA, updates, backups, segmentation, and phishing-resistant habits.
- Save only the guides you need; no account is required.
VPN leaks defeat the entire purpose of using a VPN. Your IP is hidden 99 percent of the time, but the 1 percent that leaks identifies you to websites, advertisers, and surveillance just as effectively as if you had no VPN at all. We tested five common leak types across major VPN clients on Windows, macOS, iOS, and Android. The leaks happen silently — your VPN connects, traffic flows, but some channels escape the tunnel. This guide walks through testing, identifying, and preventing each leak type.
The Five Leak Types You Must Check
VPN traffic should be uniformly routed through the encrypted tunnel. Five common situations break this assumption.
DNS leaks occur when your DNS queries (looking up domain names) go to your ISP’s DNS servers instead of the VPN’s DNS. The traffic itself goes through the VPN, but the ISP sees what domains you visited. WebRTC leaks happen via the browser API that exposes your real IP regardless of VPN status. IPv6 leaks occur when your network has IPv6 enabled but the VPN only handles IPv4 — IPv6 traffic bypasses the tunnel entirely. Kill switch failures expose traffic during the brief window between VPN disconnection and reconnection. Split tunneling misconfigurations route some traffic outside the VPN by design but reveal more than the user expects.
Each leak type has specific detection methods and fixes. The default VPN configuration in most clients addresses some but not all of these; explicit verification is required.
Step 1 — Run The Standard Leak Tests
Start with the verification tools that take 5 minutes total. Connect your VPN and visit three sites in sequence.
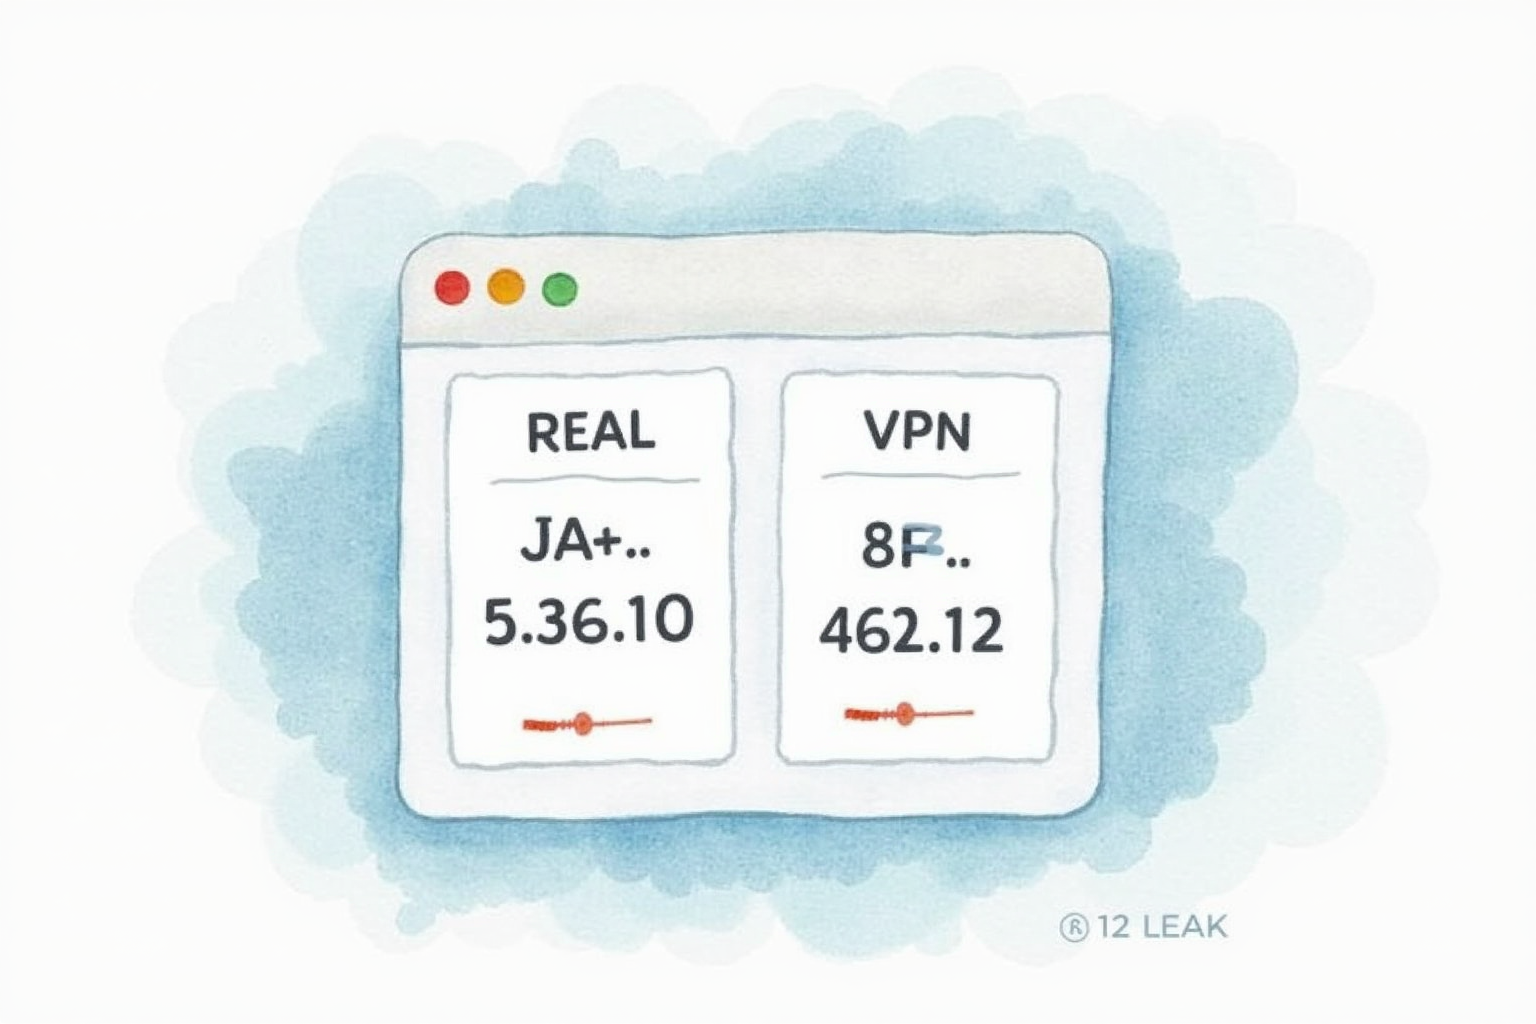
BrowserLeaks.com runs comprehensive checks including IP, DNS, WebRTC, browser fingerprint, and more. Compare the displayed IP against your real IP (visible without VPN by going to the same site disconnected). The two IPs should differ; if they match, your VPN is not active.
IPLeak.net focuses specifically on DNS and WebRTC leaks. The DNS server list should show only VPN provider DNS servers (or your chosen DNS like 1.1.1.1, 8.8.8.8) — never your ISP’s DNS servers. WebRTC should show only the VPN IP, not your real IP.
DNSLeakTest.com runs an extended DNS test that detects subtle leaks the quick tests might miss. Run the extended test and verify all returned DNS servers belong to your VPN provider or a privacy-respecting third party.
Step 2 — Fix DNS Leaks

If DNS leaks appear, the most common cause is the VPN not overriding system DNS settings. Three fixes apply depending on your situation.
In the VPN client settings, enable “Use VPN DNS” or “Block DNS leaks” — most quality VPNs have this option. If your VPN does not offer it, manually configure system DNS to a privacy-respecting resolver (Cloudflare 1.1.1.1 or Quad9 9.9.9.9) that does not log queries. This does not protect against the VPN provider seeing your queries but eliminates ISP visibility.
On Windows specifically, the Smart Multi-Homed Name Resolution feature can route DNS queries through multiple interfaces simultaneously, leaking through the non-VPN interface. Disable this via Group Policy or registry edit (group policy: Computer Configuration → Administrative Templates → Network → DNS Client → “Turn off smart multi-homed name resolution” set to Enabled).
Step 3 — Block WebRTC In Browsers

WebRTC is the largest leak source for users who have addressed DNS but missed this. The fix differs by browser.
Firefox: type about:config in the URL bar, search media.peerconnection.enabled, set to false. This disables WebRTC entirely. If you need video calling, install the uBlock Origin extension and enable its WebRTC IP leak prevention setting, which blocks IP exposure while keeping WebRTC functional for video calls.
Chrome and Edge: install the WebRTC Leak Prevent extension and select “Disable non-proxied UDP”. This prevents WebRTC from using non-VPN interfaces while keeping video call functionality through the VPN.
Safari: WebRTC implementation differs and the leak risk is lower, but disable Auto-Empty Cache and use Private Relay if available. For high-paranoia situations, Safari users should switch to Firefox for sensitive browsing.
Step 4 — Handle IPv6
Most consumer VPNs do not properly tunnel IPv6 traffic, creating leak risk when your home network supports IPv6. The simplest fix is disabling IPv6 entirely on the operating system level.
Windows: Network and Sharing Center → adapter properties → uncheck Internet Protocol Version 6. Mac: System Settings → Network → advanced for active interface → TCP/IP → Configure IPv6: Off. Linux: edit /etc/sysctl.conf to disable IPv6 system-wide or use specific firewall rules to block IPv6 traffic.
The alternative is choosing a VPN that handles IPv6 properly. Mullvad, ProtonVPN, and IVPN support IPv6 tunneling. NordVPN and ExpressVPN block IPv6 traffic by default, which is acceptable but less elegant than proper IPv6 support. Verify after configuration by visiting test-ipv6.com — the result should show no IPv6 connectivity (blocked) or IPv6 routed through the VPN.
Step 5 — Verify Kill Switch Works
Test the VPN kill switch by simulating a connection drop. While downloading a large file or streaming, disable the VPN tunnel temporarily (some clients have a Pause button, or kill the VPN process via Task Manager).
The kill switch should immediately block internet access. The download should pause, the stream should buffer-then-error. If the download continues at normal speed, the kill switch is not working and your traffic is escaping the VPN during the disconnect.
If the kill switch fails, check the VPN client settings for “Always-on VPN”, “Network lock”, or “Kill switch” options and enable them. Some clients require both an application-level kill switch and a network-level firewall rule for complete protection.
Recommended Tool Stack For Daily Use
Mullvad VPN
Price · €5/month flat rate (no annual lock-in)
+ Pros
- · Privacy-focused with anonymous payment options accepted
- · Kill switch and DNS leak protection on by default
- · WireGuard primary protocol with strong audit history
- · No account creation - just generated account number
− Cons
- · Smaller server network than NordVPN or ExpressVPN
- · No streaming-service unblocking optimizations
Price, availability, and ratings can change; verify details on the retailer page before buying.
Mullvad is the right choice for users prioritizing leak-tight VPN setup over marketing flash. The client enables all leak protections by default — kill switch, DNS leak blocking, IPv6 blocking, WebRTC interference disabled at the network level. Mullvad’s audit history (Cure53, Assured AB) is among the most thorough in the industry. The flat 5 EUR monthly rate eliminates the high-pressure annual subscription marketing that other providers use, and the account-number-only signup eliminates personal data attached to the account.
What To Avoid
Three configuration patterns should not be your default. Browser-extension VPNs (free VPN extensions in Chrome/Firefox stores) typically lack DNS and WebRTC leak protection regardless of marketing claims. Split tunneling for “trusted apps” creates leaks if you misconfigure which apps bypass the VPN. Custom DNS servers other than your VPN’s (using 1.1.1.1 or 8.8.8.8 when connected to NordVPN) sometimes leak depending on how the routing is configured; safer to use VPN-provided DNS by default.
Verification Checklist
Run these checks after any VPN client update or system update. Connect VPN. Visit BrowserLeaks.com — verify IP, DNS, WebRTC all show VPN values. Visit DNSLeakTest.com extended test — verify only VPN provider DNS appears. Pause VPN tunnel briefly — verify internet access blocks (kill switch works). Test from a different network (cellular hotspot) — verify no leaks from network change. This 15-minute audit ensures the protections remain working as software and OS updates roll through.
Bottom Line
DNS leaks, WebRTC leaks, IPv6 leaks, kill switch failures, and split tunneling errors each break VPN protection in different ways. Quality VPN clients address most by default; verification confirms they work. The 15-minute leak test routine after VPN setup is the difference between thinking you have privacy and knowing you have privacy.
For more VPN topics see our VPN protocols comparison, multi-hop VPN options, and VPN privacy category.